An exhilarating golf course.
A breathtaking backdrop.
Designed to host national championships, Hazeltine features beautifully landscaped fairways bordered with majestic woods and water features that lead to the illustrious greens.
Take a Virtual Tour
Dropdown
Hole 1
Hole 1 – Par 4
The opening hole offers a clear introduction to the challenges of Hazeltine. The driving area is narrowed by fairway bunkers, and shots played from the rough will struggle to hold the green. Wind direction and strength influence how aggressive a player can be from the tee. The green features distinct tiers, making precision on the approach essential, as a slight miss can quickly turn a birdie chance into a three-putt.
Hole 2
Hole 2 – Par 4
This dogleg left presents an early birdie opportunity. A bold drive around the corner can leave a short approach, though a repositioned fairway bunker makes that line more demanding. A conservative tee shot leaves a longer second, particularly challenging when the wind is at the player’s back, and the hole is set behind the imposing bunkers guarding the front left of the green.
Hole 3
Hole 3 – Par 5
The first par five is a true three-shot hole for most players. The tee shot must avoid penal bunkers along the left while steering clear of thick rough on the right. A prudent second is played to a flat landing area, leaving a short approach. More aggressive lines must hug the left side of the fairway, where any miss risks finding rough well below the green. The large putting surface offers a wide range of demanding hole locations.
Hole 4
Hole 4 – Par 3
Surrounded by bunkers, the green features a difficult back shelf and a flatter area across the front. Separating the two is a pronounced slope, meaning even shots that find the green can leave challenging putts and quickly turn into bogeys if distance control is lacking.
Hole 5
Hole 5 – Par 4
Contrary to the original design, an extended teeing ground has added significant length to this hole. Long hitters may attempt to carry the fairway bunkers, though successful drives often run into the thick rough on the left. The narrow green is well guarded by deep bunkers in front and on both sides, placing a premium on precision with the approach. Set at the far end of the course, the hole offers a quiet, secluded atmosphere.
Hole 6
Hole 6 – Par 4
This hole remains largely unchanged from the original layout. Avoiding the trees lining both sides of the narrow fairway is critical. Players who find the fairway can attack a long green framed by bunkers on the right and a pond on the left. Those laying back from the tee face longer approaches that still must contend with the surrounding hazards.
Hole 7
Hole 7 – Par 5
The shortest par five on the course offers several strategic options. Reaching the green in two is possible but risky, as a pond guards the left side, and the green can be challenging to hold, particularly downwind. Many players choose to lay up and rely on wedge play to create birdie opportunities.
Hole 8
Hole 8 – Par 3
Despite its modest yardage, this hole demands full attention. The small green is tightly encircled by water and sand, leaving little margin for error. Conservative play is often rewarded, while aggressive shots, especially to front hole locations, can easily find trouble.
Hole 9
Hole 9 – Par 4
Fairway bunkers tightened near the green make this one of the most demanding driving holes on the course. The uphill approach is played to a partially obscured green, placing a premium on precise yardage. Shots that finish long or left of a right-side hole location are likely to result in a difficult recovery.
Hole 10
Hole 10 – Par 4
Accuracy off the tee is essential on the opening hole of the back nine. The ideal drive finds the corner of the dogleg before the hole drops toward Hazeltine Lake. Back-left hole locations are particularly challenging, as they bring the lake into play and punish approaches that finish on the wrong side of the ridge dividing the green.
Hole 11
Hole 11 – Par 5
This par five rewards well-executed shots but offers little forgiveness. Attempts to reach the green in two that fall short will find a guarding bunker, making birdie difficult to achieve. Thoughtful placement and a controlled approach are often the best path to a good score.
Hole 12
Hole 12 – Par 4
One of the most demanding holes on the course, the extended length adds to its difficulty. The tee shot is relatively open but typically plays into the prevailing wind. A shallow, firm green places a premium on trajectory and distance control. While most putts are relatively flat, subtle breaks and the hole’s length make birdies rare.
Hole 13
Hole 13 – Par 3
Following the demanding twelfth, this par three offers no relief. A pond guards the left side, trees line the right, and bunkers protect the front and right of the green. Combined with challenging hole locations, the hole demands a confident, precise tee shot.
Hole 14
Hole 14 – Par 4
A cross-bunker short of the green heightens the risk-reward nature of this hole. Though modest in length, accuracy is essential with out-of-bounds lining the right side. The small green features subtle contours and exacting hole locations that make birdies less frequent than expected.
Hole 15
Hole 15 – Par 5
Additional length from the tee brings fairway bunkers back into play on both the drive and second shot. The hole becomes particularly challenging when played into the wind, rewarding strategic decision-making and disciplined execution.
Hole 16
Hole 16 – Par 4
The tee shot must carry Hazeltine Lake while staying short of a creek along the left side of the fairway. The right rough offers little relief, as the elevated green angles away and is difficult to hold. Hole locations along the right edge once again bring the lake into play, creating constant tension from tee to green. Hazeltine’s signature hole also features the iconic Payne Stewart Bridge.
Hole 17
Hole 17 – Par 3
This striking hole features a green surrounded by bunkers and water. A pronounced bowl in the front-left portion of the green gathers shots that miss the narrow shelves on the right and in the back. From there, lag putting becomes difficult, making this one of the most challenging greens on the course.
Hole 18
Hole 18 – Par 4
The extended closing hole demands a precise drive threaded between bunkers on both sides. The approach is played into a three-tiered green where accuracy is paramount, especially to front hole locations. A well-executed finish here provides a fitting conclusion to the round at Hazeltine.
Learn about Hazeltine's history.
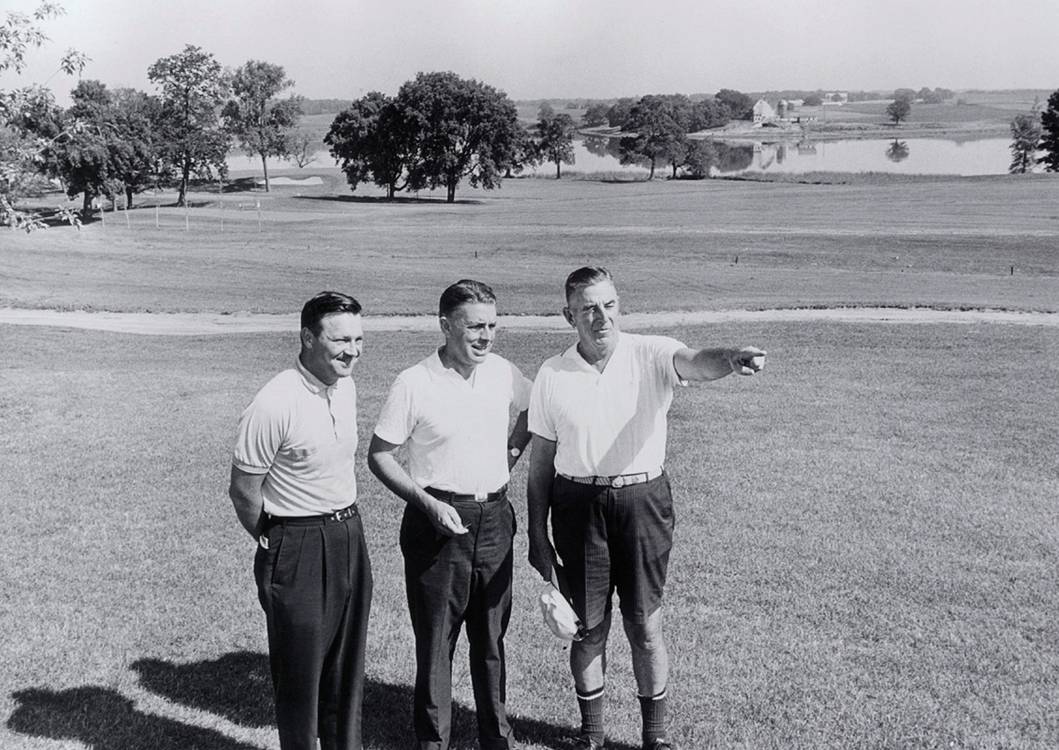
Hazeltine National Golf Club was founded in 1962 on the rules and traditions of golf. Totton P. Heffelfinger, a former president of the United States Golf Association (USGA), wanted to create a golf club that would host major championships while providing a pure golf experience for its members.