
Dropdown
Hole 1

The First Hole plays to the largest of the five double greens and requires a slightly downhill shot. Navigate the bunkers surrounding the front and left sides of the green while avoiding going long, where the green drops off into a low point.
Hole 2

The Second Hole is the smallest of the five double greens. The green features a large “trench” in the middle that extends the length of the green from front to back, creating two distinct tiers. Bunkers left and long of the green require precision while avoiding the front swale—one of the most dramatic features on the short course.
Hole 3

The Third Hole plays along the surrounding berm, which can be utilized to bounce the ball down to the hole. A large front bunker protects the green, but something played to the left edge away from the bunker will result in a good birdie opportunity.
Hole 4

The Fourth Hole has a unique green with a large bunker located in the center and a big elevation change between the left and right sides. The proper shot must stay on the correct level and out of the bunker to avoid a difficult second shot.
Hole 5

The Fifth hole plays slightly uphill. The “spectacle” bunkers in the middle of the green serve as the target while making sure to be short of them. Low collection areas surround both sides of the green, so precise distance and direction are essential here.
Hole 6

The Sixth hole shares the green with number Four. A proper tee shot should target the much higher right side of the green, with short being much better than long. With this being the most challenging green, par is a great score.
Hole 7

The Seventh hole is slightly uphill and fits between two deep bunkers that frame the front of the green. This hole features a false front that will reject a shot that is short into a collection area in front of the green.
Hole 8

The Eighth hole has a large front-left bunker and false front-guard access to the right side of the green. The same trench on number two again plays a key role; distance miscalculations can result in an awkward two-putt or worse.
Hole 9

The Ninth hole plays into a subtly contoured green that demands pinpoint accuracy. Several small interior knobs and ridges influence both landing and roll-out. A large depression front and left collects shots that miss short, making for a difficult up and down.
Hole 10

The Tenth Hole has a skinny peninsula-like green. A precise tee shot is required, with “spectacle” bunkers in the center of the green and more bunkers left and right. The Putting Course flows seamlessly into the back of the green, giving players an opportunity to use it as a backstop.
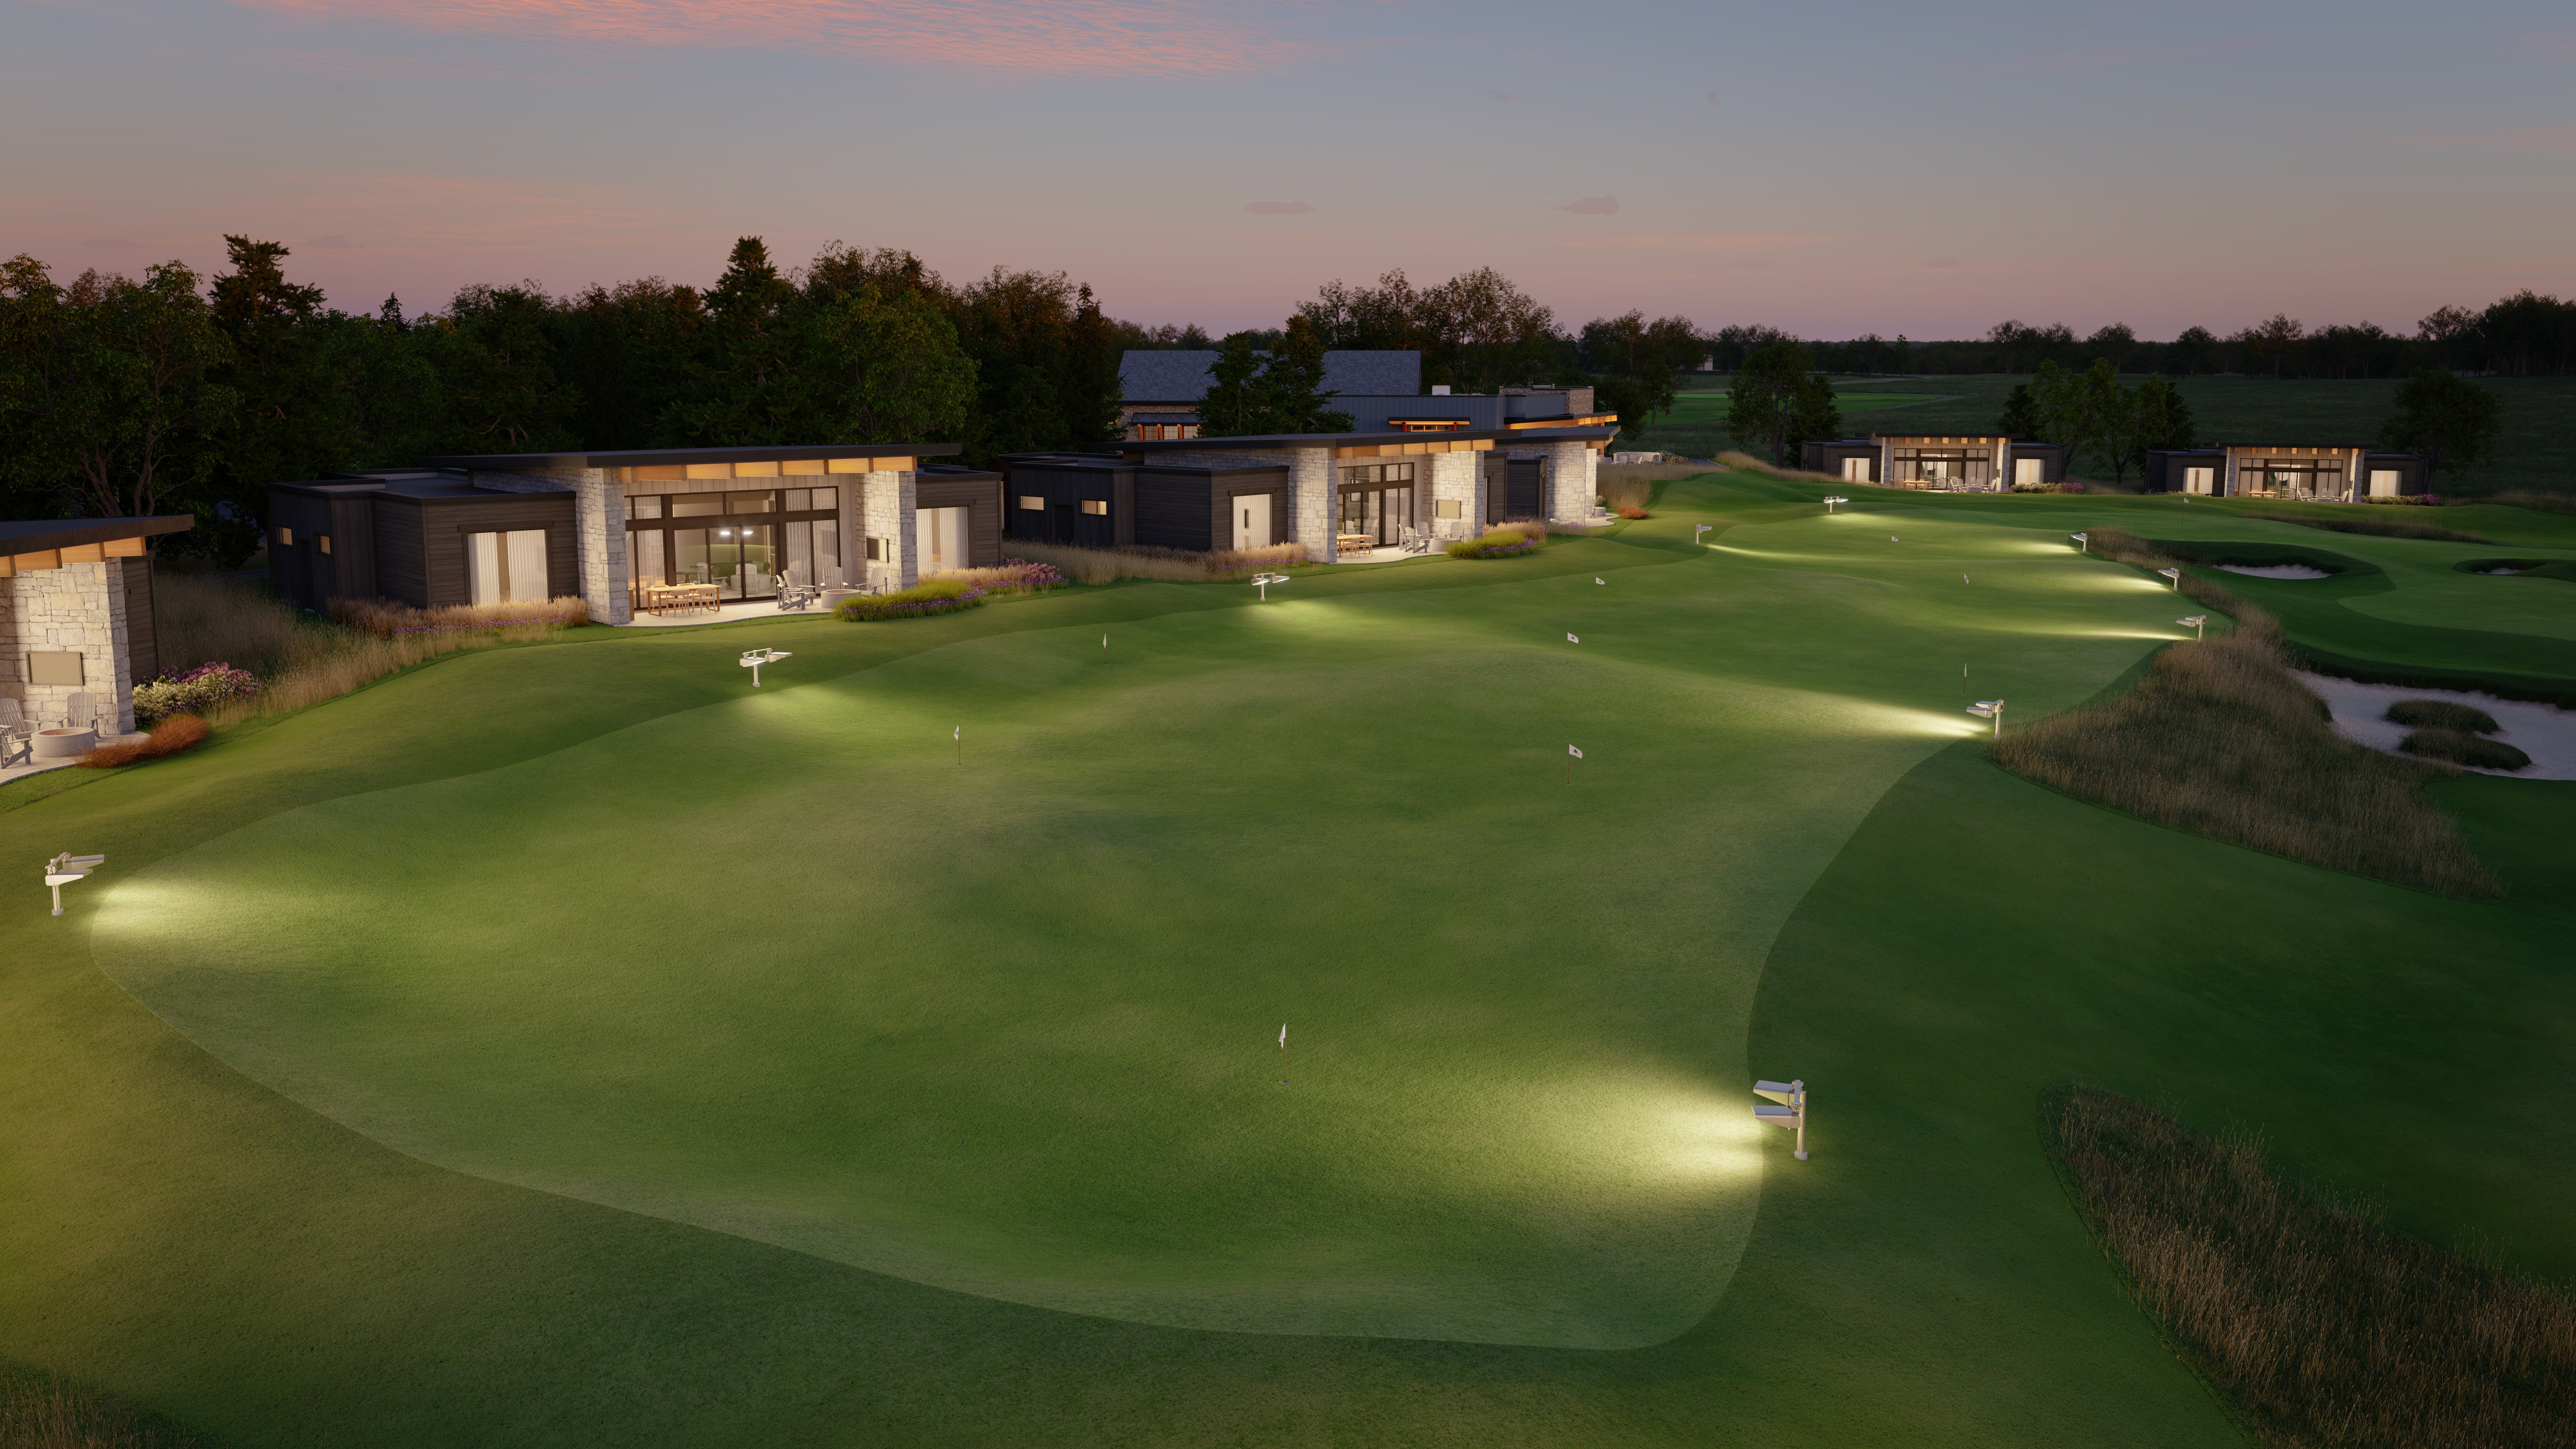
The Putting Course.
Our 130-yard-long putting course will have many slopes and undulations, offering our members and guests of all abilities the chance to hone their putting skills and have some serious fun.
It will be ideally located directly between the short course and villas, allowing those occupying the villas to walk off their patios directly onto the putting course. It will also have low-profile lighting for evening putting sessions.
We’re just getting started.
The Short Course is a signature element of Vision 2040, our comprehensive plan to cement Hazeltine as America's premier championship golf destination while honoring our founding principles of tradition, championship golf, and exceptional member experiences.